Why Troll Falls is the Perfect Weekend Escape
Listen, if you haven’t hiked troll falls yet, you are honestly missing out on one of the absolute best short trails out there right now. We all have those moments where we just need to disconnect from the screens, grab a backpack, and get some fresh air without committing to an exhausting twelve-hour mountaineering expedition. Growing up near the Carpathian Mountains in Ukraine, I spent my childhood chasing waterfalls like Probiy in Yaremche. The damp earth, the sharp pine scent, the roaring sound of rushing water—it all shaped my love for the outdoors. When I finally hit the trails in Kananaskis Country, the scent of the evergreen trees immediately brought me back to those Ukrainian summers. But this specific trail has its own distinct magic, a unique Rocky Mountain vibe that you just cannot replicate anywhere else.
This trail offers the perfect balance of accessibility and spectacular natural beauty. You do not need to be an elite athlete to conquer it, but the reward at the end makes you feel like you just discovered a hidden gem. My goal here is to break down exactly how to conquer the trail, what gear you should pack, and why this specific waterfall should be sitting at the very top of your 2026 travel bucket list. We are going to map out the route, look at the fascinating geology, and equip you with a foolproof step-by-step plan for your trip. Trust me, once you make the trek, you will understand exactly why locals keep coming back to this spot year after year.
The Core Benefits and Trail Breakdown
So, why exactly is this hike so insanely popular? The answer lies in its incredible versatility. Most mountain trails force you to choose between an easy, boring walk or a stunning but brutal climb. This location completely shatters that compromise. It gives you raw, scenic wilderness on a relatively flat, well-maintained path. Families with young kids love it because little legs can handle the minimal elevation gain, while seasoned hikers use it as an active recovery day or a quick sunset sprint.
Here is a quick snapshot of what you are dealing with when you hit the trailhead:
| Trail Feature | Summer Conditions | Winter Conditions |
|---|---|---|
| Distance | 3.4 km round trip | 3.4 km round trip (feels slightly longer in snow) |
| Elevation Gain | Approx. 150 meters | Approx. 150 meters |
| Required Gear | Light trail runners, water, bear spray | Microspikes, warm layers, trekking poles |
The value proposition here is massive. For example, if you are a photography enthusiast, the varying light filtering through the dense forest canopy provides endless opportunities for stunning landscape shots without having to lug heavy camera gear up a steep mountain face. Another great example is for those introducing friends or partners to hiking; it is the ultimate “gateway hike” that builds confidence.
Here are the top three reasons you need to prioritize this route:
- Unbeatable Quick Access: Located just a short drive from Calgary and Canmore, you can easily leave your house in the morning, complete the hike, and be back in town for a late lunch.
- Winter Wonderland Magic: When the temperatures drop, the rushing water completely freezes, creating a massive, sparkling ice chandelier that is absolutely breathtaking to witness up close.
- Low Physical Barrier to Entry: The wide, well-marked path means you spend less time watching your footing and more time actually enjoying the surrounding mountain views.
Origins of the Trail
The history of this specific area is deeply intertwined with the development of Kananaskis Country as a whole. Before the paved parking lots and perfectly marked trailheads existed, this land was heavily utilized by the Stoney Nakoda First Nations, who navigated these valleys and rivers for generations. The specific route we walk today began to take shape as a recreational path in the late 1970s and early 1980s, when the provincial government heavily invested in creating accessible outdoor spaces for the rapidly growing populations of nearby cities. Early trail builders recognized the natural draw of the cascading water and worked to clear a safe path through the thick pine and spruce forests.
Evolution of the Area
Over the decades, the trail has seen significant evolution. Originally, it was a somewhat rugged, muddy path that required a bit of bushwhacking if you ventured off the main route. The name itself comes from local lore—early hikers and climbers claimed that the unique rock formations hidden behind the cascading water looked remarkably like the faces of stone trolls peering out from the shadows. As foot traffic increased throughout the 1990s and 2000s, park authorities recognized the need for better infrastructure. They widened the paths, added clear directional signage, and reinforced sections of the trail that were prone to severe erosion during the spring melt.
Modern State of the Hike
Now that we are well into 2026, the trail is arguably in the best shape it has ever been. Recent upgrades have included better fencing near the steep drop-offs, improved trailheads with clear maps, and the official mapping of the upper falls loop. Previously, the upper section was an unofficial, sketchy scramble that led to multiple rescues. Today, there is a legitimate, safer path with handrails and stairs cut into the earth, allowing almost anyone to safely witness the upper tiers of the waterfall system. It stands as a shining example of how modern park management can balance heavy tourism with environmental conservation.
The Science Behind the Scenery
Geological Formations
You might just see a pretty waterfall, but geologically speaking, you are staring at millions of years of history. The rock walls framing the water are primarily composed of limestone and shale, part of the massive Rundle Group formations that define much of the Canadian Rockies. These sedimentary rocks were laid down at the bottom of an ancient, shallow sea over 300 million years ago. As tectonic plates collided, these flat layers were thrust upward, creating the jagged peaks we see today. The waterfall exists specifically because the water flows over a hard, resistant layer of limestone and hits a softer layer of shale below. Over millennia, the shale erodes much faster, undercutting the limestone and creating the dramatic vertical drop that gives the falls their striking appearance.
Hydrology and Seasonal Flow
The water source for this spectacular display is Marmot Creek, which relies heavily on high alpine snowmelt and underground springs. This means the hydrology of the area is incredibly dynamic and changes drastically with the seasons. During the spring runoff, the creek becomes a raging torrent, aggressively carving deeper into the rock. By late autumn, the flow slows to a gentle trickle, setting the stage for the dramatic winter freeze.
- Frost Wedging: Water constantly seeps into the microscopic cracks of the limestone. When it freezes, it expands by about 9%, acting like a geological wedge that slowly breaks the rock apart over time.
- Calcium Carbonate Deposits: As the water flows over the limestone, it dissolves small amounts of calcium carbonate. In some areas, you can see a slight crust forming on the moss, a process similar to how stalactites form in caves.
- Micro-climates: The constant mist generated by the falling water creates a highly localized, humid micro-climate at the base. This allows specific types of lush green mosses and lichens to thrive here that you simply will not find a few hundred meters away on the dry, sun-baked trail.
7-Step Guide to the Perfect Trip
Step 1: Pre-Trip Weather Check
Before you even grab your boots, pull out your phone and check the local Kananaskis weather forecast. Mountain weather is notoriously unpredictable. A sunny morning in the city can easily translate to a localized snow squall or heavy rain at the trailhead. Knowing the exact conditions will dictate your footwear and clothing choices for the day.
Step 2: Packing the Essentials
Even though this is a short hike, you absolutely need to be prepared. Pack a comfortable daybag with at least one liter of water per person, high-energy snacks, a basic first aid kit, and an extra warm layer. Because you are in prime wildlife territory, carrying bear spray—and knowing how to use it—is non-negotiable, regardless of the season or how crowded the parking lot looks.
Step 3: Arriving at the Trailhead Early
This is arguably the most critical step. The Stoney Trail parking lot fills up incredibly fast, especially on weekends. Aim to arrive before 8:30 AM. Not only will you secure a stress-free parking spot, but you will also get to experience the trail in the quiet morning light, listening to the birds rather than dodging large, noisy groups of tourists.
Step 4: Navigating the Lower Trail
The hike begins on a wide, old logging road. You will pass through a beautiful forest of lodgepole pines and trembling aspens. Keep an eye out for the junction markers. You have the option to take the Hay Meadows loop, which adds a bit of distance but offers spectacular open views of the surrounding peaks and the Kananaskis River. It is a fantastic detour if you have the time.
Step 5: The Final Approach to the Falls
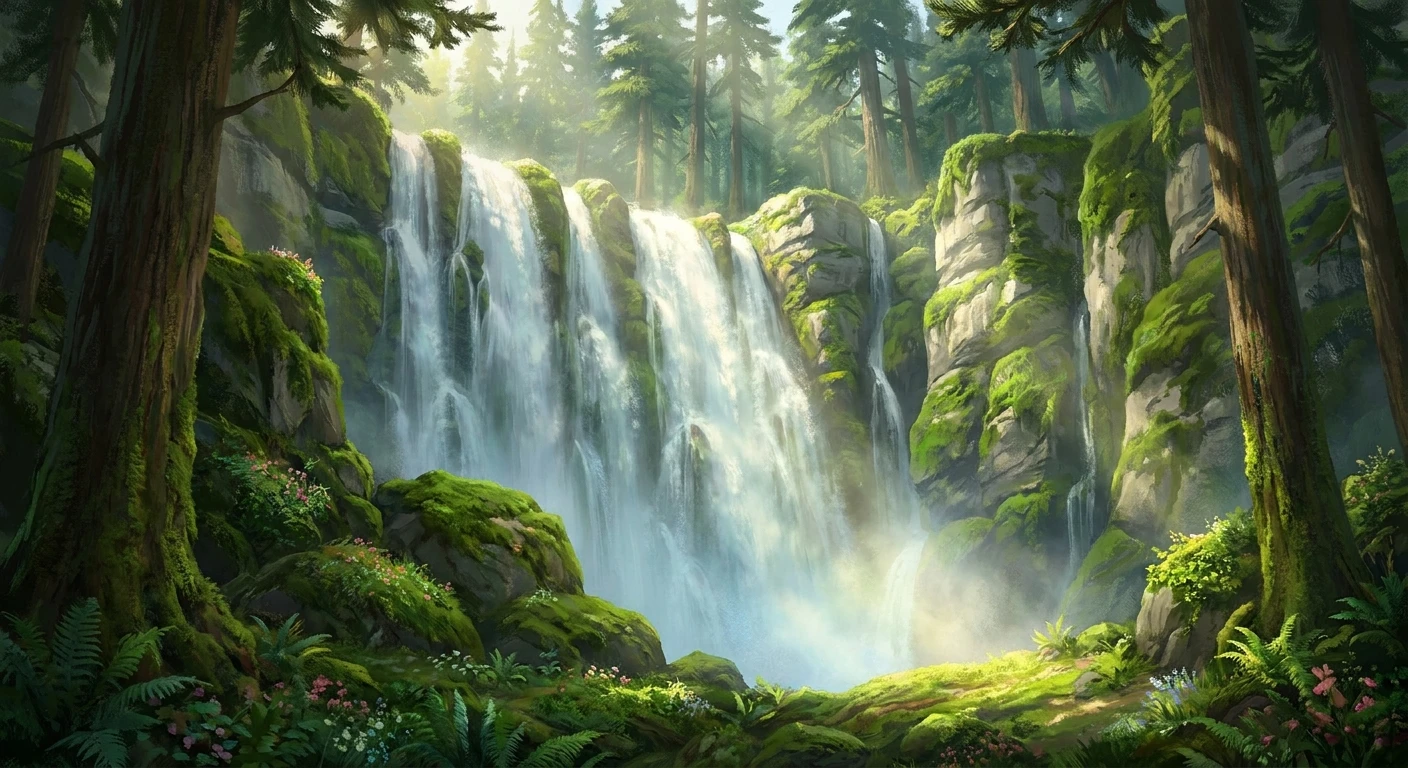
As you get closer, you will hear the roar of the water long before you see it. The trail narrows and winds through a denser, darker section of the forest. The temperature will noticeably drop as you enter the micro-climate created by the mist. Have your camera ready, because as you round the final corner, the main falls reveal themselves through the trees.
Step 6: Exploring the Upper Falls (Safely)
Do not just stop at the main viewing area! Look for the newly constructed trail section that leads up the left side of the valley. This steep but short climb takes you to Marmot Falls, where the trail actually allows you to walk carefully behind the curtain of falling water. Just watch your step, as the rocks here are perpetually slick with moisture.
Step 7: Post-Hike Recovery and Snacks
Once you have taken your photos and soaked in the scenery, enjoy the easy downhill stroll back to your car. The best way to cap off the trip is to pull out a thermos of hot coffee or tea and some sandwiches at your vehicle, reflecting on the hike before making the scenic drive back toward civilization.
Myths and Reality
Myth: The trail is entirely paved and completely flat.
Reality: While it is an easy hike, it is still a dirt and root-covered mountain trail with about 150 meters of elevation gain. You need proper closed-toe footwear; flip-flops will lead to a bad time.
Myth: You do not need bear spray because it is a busy tourist trail.
Reality: Bears do not care about trail popularity. Black bears and grizzlies are frequently spotted in this exact area, even on busy weekend afternoons. Always carry your spray.
Myth: Winter hiking here requires professional mountaineering gear.
Reality: You absolutely do not need ice axes or ropes. A good pair of winter boots and a set of $25 slip-on microspikes from a local outdoor store are all you need to safely navigate the icy patches.
Myth: It takes a whole day to complete.
Reality: Most moderately fit people finish the entire round trip, including plenty of time for photos at the waterfalls, in under two hours.
Frequently Asked Questions
Are dogs allowed on the trail?
Yes, dogs are absolutely welcome! However, they must be kept on a leash at all times for their safety and the safety of the local wildlife.
Do I need a Kananaskis Conservation Pass?
Yes, to park at the trailhead, your vehicle must have a valid daily or yearly Kananaskis Conservation Pass registered to your license plate.
Are there bears on the trail?
Yes, you are in prime bear habitat. Travel in groups, make noise to avoid surprising an animal, and always carry accessible bear spray.
Is it stroller friendly?
Standard strollers will struggle with the roots and rocks. A rugged, all-terrain running stroller with large pneumatic tires can make it to the lower falls, but you will not be able to get it up to the upper falls.
Can you swim there?
No, the pool at the base is very shallow, filled with sharp rocks, and the water is freezing cold year-round. It is not safe or practical for swimming.
Are there bathrooms at the trailhead?
Yes, there are basic pit toilets located at the Stoney Trail parking lot. Be sure to bring your own hand sanitizer.
How long does the hike take?
Expect to spend about 1.5 to 2 hours total, moving at a relaxed pace and taking time to explore both the lower and upper sections.
Is it open year-round?
Yes! It is a spectacular summer hike and an equally famous winter destination for viewing the frozen ice falls.
There you have it—your complete blueprint for tackling this amazing spot. Whether you are lacing up your boots for a summer morning stroll or strapping on spikes for a frosty winter adventure, this location always delivers. Grab your gear, call up a friend, and go see those cascading waters for yourself!